select PAN ID ---->9201
ATID9201
http://social.itp.nyu.edu/cgi-bin/itpwiki/wiki.cgi/wiki.cgi?ZigBee
take out the Arduino chip from the breadboard
XBee TX -> Arduion RX
XBee RX -> Arduion TX
run terminal file (XBee_Terminal.pde)
radioNo. ATMY, ATDL, ATDH, ATID(PANID)
radio 1, 1234, 5678, 0,9201
radio 2, 5678, 1234, 0, 9201
** don't forget to write on Xbee. ATWR
unplug usb cable
insert Arduino chip on the board
disconnect the TX, RX wire of XBee
plug usb cable to the computer
upload Arduino file (XBee_Analog_Duplex_Sender.pde) on lastest verion of Arduino program
(there was an error to get results with previous version)
**For running on new Arduino board, you need to select microcontroller to atmega 168
Connect wires
XBee TX -> Arduion TX
XBee RX -> Arduion RX
I set up two XBees on the breadboards and connect to 12V adapter with one and connect to the computer with the other one. The only the breadboard connected the computer was work well. The light was not changed on the other connected 12V.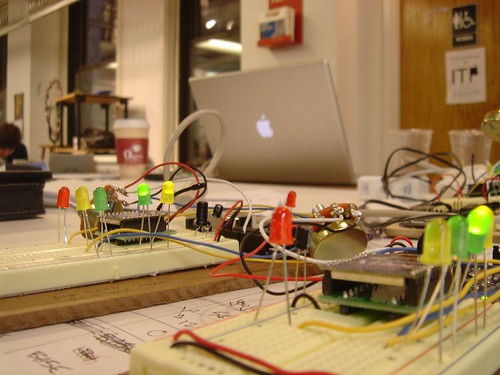
Saturday, September 22, 2007
Glow the LED - It works!
![]()
Subscribe to:
Post Comments (Atom)

1 comment:
when I write a new value for atmy... it's not working.. i get an error
Post a Comment